
Contents:
- Why DIY Vinyl Plank Installation Makes Sense
- Basics for Beginners: What You’ll Need
- Step 1: Acclimate the Planks
- Step 2: Prep the Subfloor
- Step 3: Lay the Underlayment
- Intermediate Level: Laying the First Rows
- Advanced Nuances: Getting a Professional Finish
- Seasonal Timing for a DIY Project
- A Real Beginner’s Experience
- Common Mistakes to Avoid
- Frequently Asked Questions
- Can I install vinyl plank over existing tile?
- How long does a DIY vinyl plank project typically take?
- Do I need a specific type of underlayment?
- What tools are absolutely essential for a first project?
- Is it cheaper to buy materials from tampabayfloorstores.com or a big-box store?
- Getting Started with Confidence
A determined beginner with basic tools can install vinyl plank flooring across an entire room in a single weekend, often for less than a third of the cost of hiring it out — a claim that sounds optimistic until you see the actual steps laid out clearly. Vinyl plank flooring has become one of the most approachable flooring materials for a DIY installer precisely because manufacturers engineered the click-lock system with exactly this kind of project in mind.
Why DIY Vinyl Plank Installation Makes Sense
Vinyl plank flooring installation appeals to budget-conscious homeowners for a straightforward reason: labor typically accounts for 40-50% of a professional installation’s total cost, and that’s the portion a capable DIYer can eliminate entirely. Beyond cost, the modern click-lock and loose-lay systems don’t require the specialized tools or years of experience that tile-setting or hardwood installation demand, making it one of the few flooring categories where a first attempt can genuinely rival professional results.
Basics for Beginners: What You’ll Need
A basic toolkit covers most of what’s required: a utility knife, a tape measure, spacers (or scrap wood cut to ¼ inch), a rubber mallet, a tapping block, and a pull bar for tight corners. Add knee pads if the project spans more than a couple of hours, since kneeling on a hard subfloor adds up quickly. vinyl plank flooring purchased from tampabayfloorstores comes with manufacturer specifications printed directly on the box, including the exact acclimation period and recommended underlayment for that specific product line — details that matter more than most first-time installers expect.
Step 1: Acclimate the Planks
Leave planks in their unopened boxes inside the installation room for 48 hours minimum before starting, allowing the material to adjust to the room’s actual temperature and humidity. Skipping this step is one of the most common causes of gapping that shows up weeks after installation looks complete.
Step 2: Prep the Subfloor
The subfloor needs to be clean, dry, and flat within roughly 3/16 inch over a 10-foot span. Sweep thoroughly, fill any low spots with a leveling compound, and sand down high spots — vinyl plank is forgiving of minor imperfections but will telegraph any significant unevenness over time.
Step 3: Lay the Underlayment
Most click-lock vinyl plank comes with an attached underlayment pad, but a separate moisture barrier is still recommended over concrete slabs, especially in a humid climate. Roll it out flat, trim to fit the room, and tape seams to prevent shifting during installation.
Intermediate Level: Laying the First Rows
Start against the longest, straightest wall in the room, using spacers to maintain a ¼-inch expansion gap around the entire perimeter — vinyl plank expands and contracts with temperature, and skipping this gap causes buckling later. Stagger end joints between rows by at least 6 inches to avoid a repetitive pattern and to add structural stability. Cutting planks to fit around doorways and cabinets is where most beginners slow down; a simple utility knife scored multiple times along a straightedge, then snapped, handles straight cuts cleanly without needing a specialized saw.
Advanced Nuances: Getting a Professional Finish
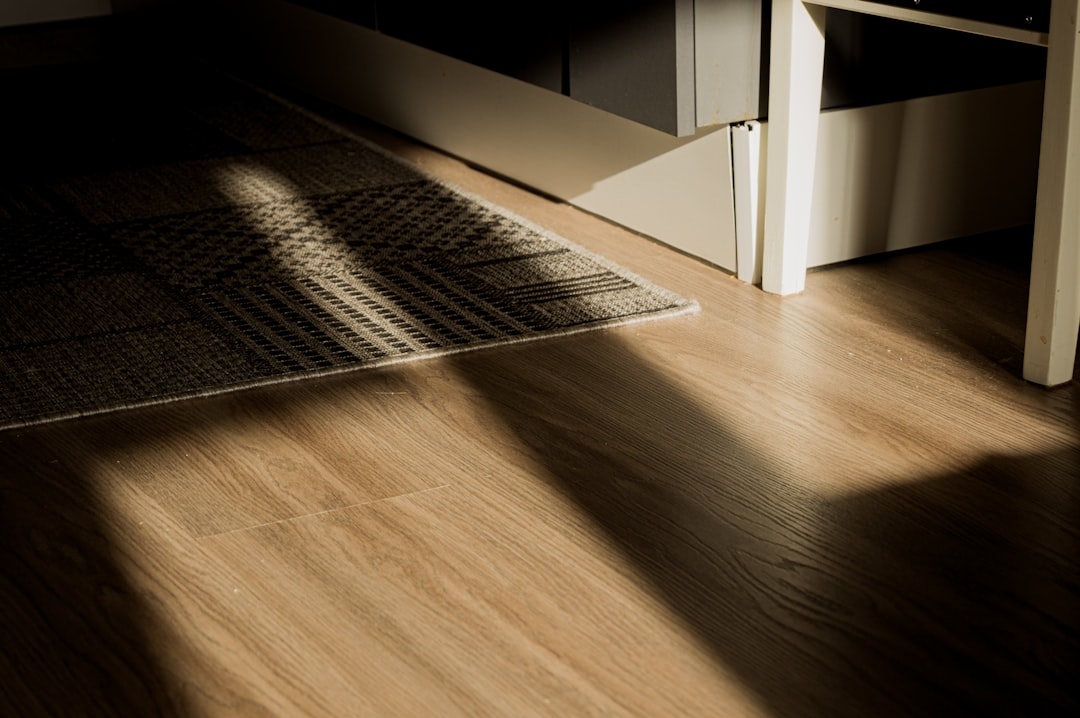
Transition strips between rooms need to account for expansion gaps on both sides, not just a single continuous piece of flooring running through a doorway. Around toilets and cabinets, a jigsaw with a fine-tooth blade produces cleaner curved cuts than a utility knife can manage. For rooms with significant natural light exposure, running planks perpendicular to the main window wall minimizes the visibility of seams as light rakes across the floor throughout the day — a small detail that separates an amateur-looking install from a polished one.
Seasonal Timing for a DIY Project
Late spring, roughly April through early June, is the ideal window for a DIY vinyl plank project in the Tampa Bay area. Indoor humidity is more stable before the peak of summer’s afternoon storms, which makes the acclimation period more predictable, and it avoids competing with hurricane season repair demand if a tool rental or last-minute material purchase becomes necessary.
A Real Beginner’s Experience
A first-time DIYer in St. Petersburg took on a 400-square-foot living room and hallway project after watching a handful of online tutorials, and reported that the biggest surprise wasn’t the installation itself but how much time subfloor leveling took — nearly a full day compared to roughly six hours for the actual plank installation. That ratio holds true for most beginner projects: prep work, not the flooring itself, is where the real time investment lives.
Common Mistakes to Avoid
Skipping the expansion gap around the room’s perimeter is the single most frequent DIY mistake, and it typically shows up as buckling near exterior walls once summer humidity peaks. Rushing the acclimation period is a close second, especially among first-timers eager to finish a project in a single day. Installing directly over an unlevel subfloor without addressing high or low spots first is a third common error — vinyl plank will flex over minor dips initially, but repeated foot traffic eventually causes visible wear patterns and, in some cases, click-lock seam failure.
Frequently Asked Questions
Can I install vinyl plank over existing tile?
Often yes, as long as the tile is flat, stable, and free of significant cracks or missing pieces. Loose or damaged tile should be repaired or removed first.
How long does a DIY vinyl plank project typically take?
For an average room of 300-500 square feet, expect one to two full days including subfloor prep, acclimation aside, for a first-time installer working at a careful pace.
Do I need a specific type of underlayment?
Check the manufacturer’s specifications, since some click-lock products already include an attached pad and don’t require a separate underlayment, while others explicitly recommend one for slab installations.
What tools are absolutely essential for a first project?
A utility knife, tape measure, spacers, tapping block, and rubber mallet cover the vast majority of a standard installation without requiring specialized equipment.
Is it cheaper to buy materials from tampabayfloorstores.com or a big-box store?
Pricing is often comparable, but tampabayfloorstores.com provides product-specific installation guidance and moisture ratings suited to Florida conditions, which can prevent costly mistakes that offset any small price difference elsewhere.
Getting Started with Confidence
The biggest barrier to a successful DIY vinyl plank project usually isn’t skill — it’s underestimating how much time subfloor prep and acclimation genuinely require. Budget realistically for both, follow the expansion gap rule without exception, and a first-time installer can produce results that hold up every bit as well as a professional crew’s work.